Image Description
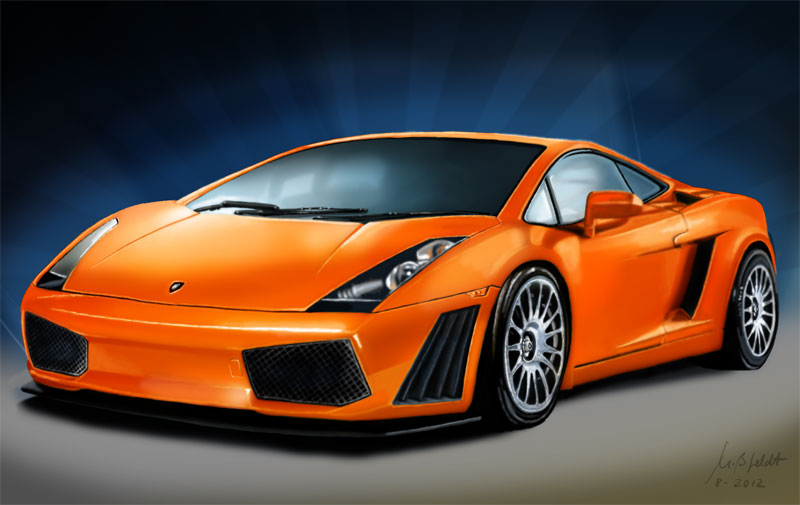
Digital painted picture of a Lamborghini Gallardo. The painting time was about 3 hours. Painted on the PC with the help of a Wacom Intuos 4 graphics tablets.
The original basic model of the Gallardo was presented at the Geneva Motor Show in 2003 and has been in production since 2008. The Gallardo was designed as an entry-level model for the Lamborghini brand and as a competitor to the Ferrari 360. In contrast to the 6.2-l V12 engine (426 kW) of its sister model Murciélago, launched in 2001, which is approx. 280 millimetres longer, approx. 145 millimetres wider, approx. 30 millimetres lower, 59 kW (80 hp) more powerful, 21 km/h faster, reaches a speed of 200 km/h 2.4 seconds earlier and is approx. 84,000 euros more expensive, the Gallardo was equipped with a smaller 5-l V10 (368 kW/500 hp) and also did not receive any typical Lamborghine scissor doors traditionally reserved for the twelve-cylinder models. The longitudinally mounted mid-engine transmits its power to the road via a rear-heavy four-wheel drive, which distinguishes the Gallardo from its mainly rear-wheel-driven competitors. The two-seater coupé thus accelerates from 0 to 100 km/h in four seconds and reaches a top speed of 309 km/h. The Gallardo's four-wheel drive is the most powerful of its class. The purchase price is approx. 160,000 Euro.
A few intermediate steps (stages) as screenshots from the digital painting process follow.
1. Pre-drawing
The basis of the digital pictures - if they are to be realistic - is always a pre-drawing. Especially with digital painting this is very easy, because you can approximate in several layers from coarse to fine. On the following drawing you can see two sketches (the first one is already slightly transparent):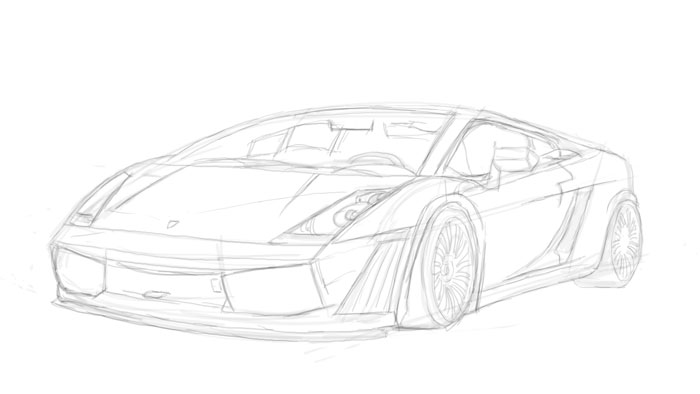
Drawing (preliminary drawing) of the Lamborghini
2. Underpainting with color
The second step is the colored underpainting. The main areas in the image are filled with colors.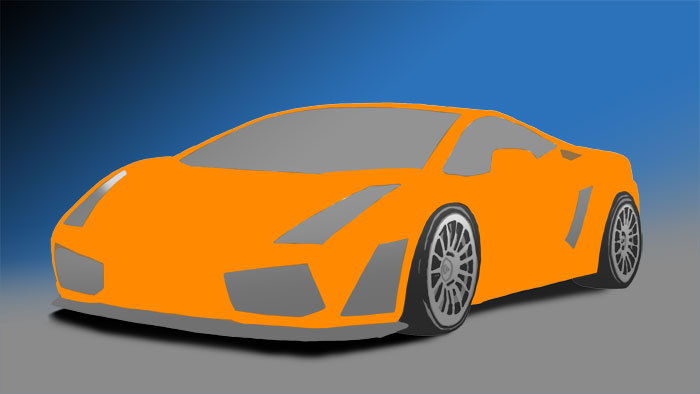
Background with color (Lamborghini)
3. Light and shadow / light-dark details
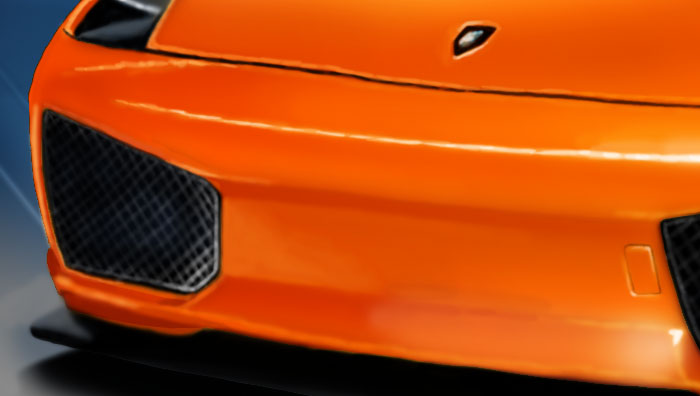
As the image progresses, details are added again and again as light-dark contrasts. This light and shadow modulation gives the car its plasticity.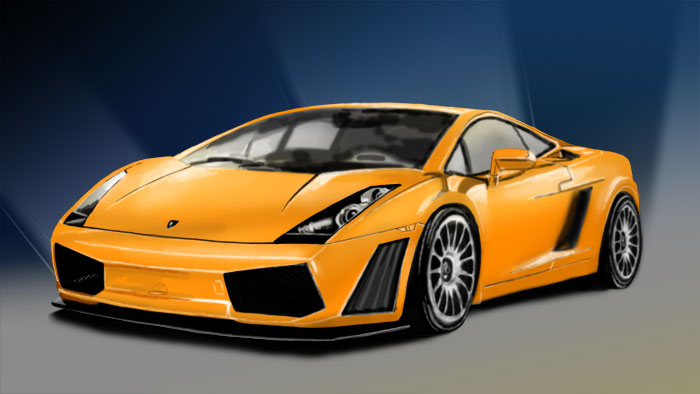
Add Gloss Effects with Photoshop / digially painted
4. Progressive painting process
As the process progresses, more and more layers and details are compacted according to this principle. Here is another intermediate state: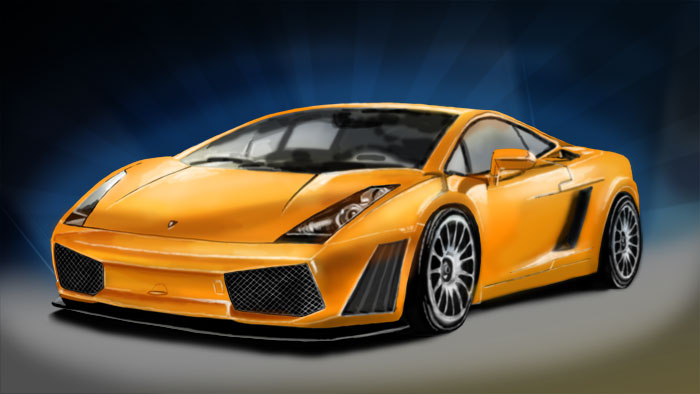
Progressive painting process / more and more subtleties and details
5. Color modulation
Finally, the individual Photoshop layers are reworked once again and the coloration adjusted. By semitransparent layers with a single color, which are set to "copied into each other", the black-and-white details are colored together.
Painting with Photoshop (Tutorial) - Lamborghini
6. The Final Image (Painting)
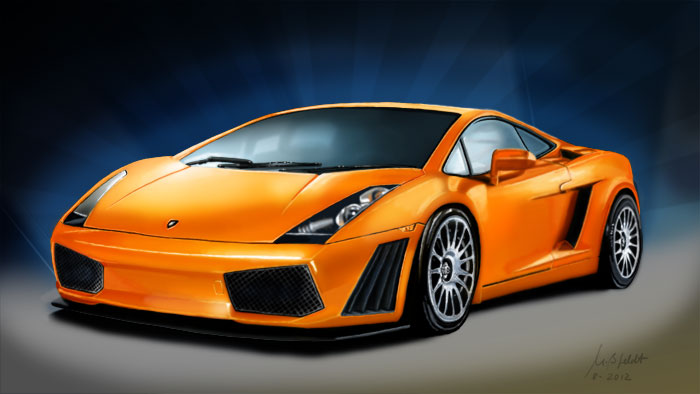
Painting with Photoshop (Lamborghini)
Other Painting & Drawing Tutorials.
Video with this image
The following video shows the painting process as a time-lapsed video.
